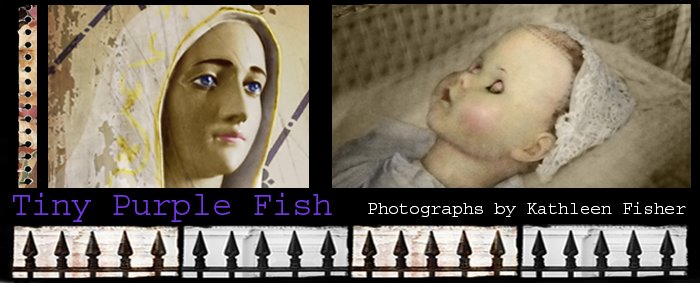


My journal for made. Creative Space’s “Project: Art Journal” group show is printed and ready to pick up tomorrow. All I need to do is attach the front and back covers.
The above portraits are in my journal, and also form the basis of two image transfers that grace the above-said covers. I started with a scan of the head of a smug-looking, blonde, blue-eyed little girl doll, which I meshed with a cheap 'n' nasty photobooth portrait of myself from two years ago. The results are so wide-eyed and plastic ... they look like "good" and "evil" twins!
I've wanted to make image transfers for years, but somehow only started experimenting a few days ago. First, I cropped and ramped up the contrast on both originals, which I roughly printed on everyday A4 paper and photocopied at the local library.
My first transfers are done with Modge Podge, a popular craft glue found in art supply stores. Here's what I did:
- Brush 300gsm watercolour paper with gesso and allow to dry
- Cover a photocopy with Modge Podge, lay face down on the watercolour paper and lightly brayer to ensure good adhesion.
- Allow to dry for an hour before dipping my finger in water and rubbing the photocopy paper away, leaving the toner image behind
- When dry, repeat the wetting and rubbing to ensure all the paper fibres are gone (the image looks cloudy when fibres still remain).
Modge Podge transfers are rough 'n' ready compared with other mediums, the photocopy paper is harder to rub completely off and the actual toner transfer is quite fragile ... as you can see, some of it tore, especially in the darker transfer. I do, however, love the aged and tattered look, like something from a really old newspaper.
My skills had sharpened by the time I tackled gel transfers, using Golden's soft gel medium. This is a beautiful product, but its hefty price tag and rarity in Australia makes for a luxury item!
Again, here's what I did:
- Brush 300gsm watercolour paper with gesso and allow to dry
- Paint an acrylic background (I used simple blocks of colour varied in tone and saturation) and allow to dry
- Brush a second, light coat of gesso to unify and add visual texture, and allow to dry
- Seal with gel medium and allow to dry
- Cover a photocopy with gel medium, lay face down on the watercolour paper and lightly brayer to ensure good adhesion
- Allow to completely dry, which may take a few hours, before dipping my finger in water and rubbing the photocopy paper away, leaving the toner image behind.
Which technique do you prefer? If you've played with image transfers, what other "emulsions" have you used and to what results?
1 comment:
Oh man! Those are fantastic! And creepy! I love them. And I love how you detailed your process. Very, VERY cool.
Post a Comment